运维|devops|jenkins构建应用发布
基于 jenkins Version 2.541.3 实操案例
添加任务
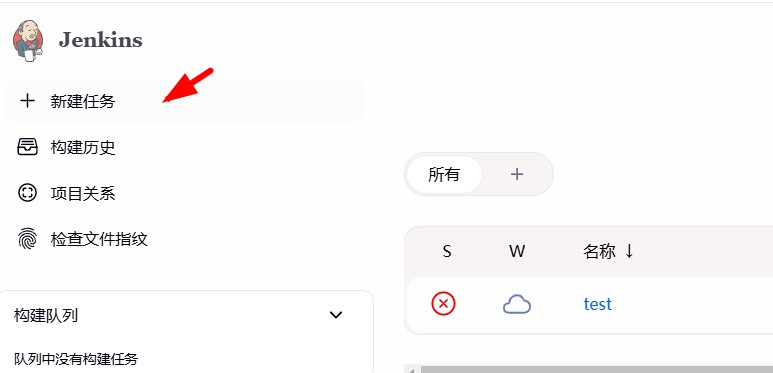
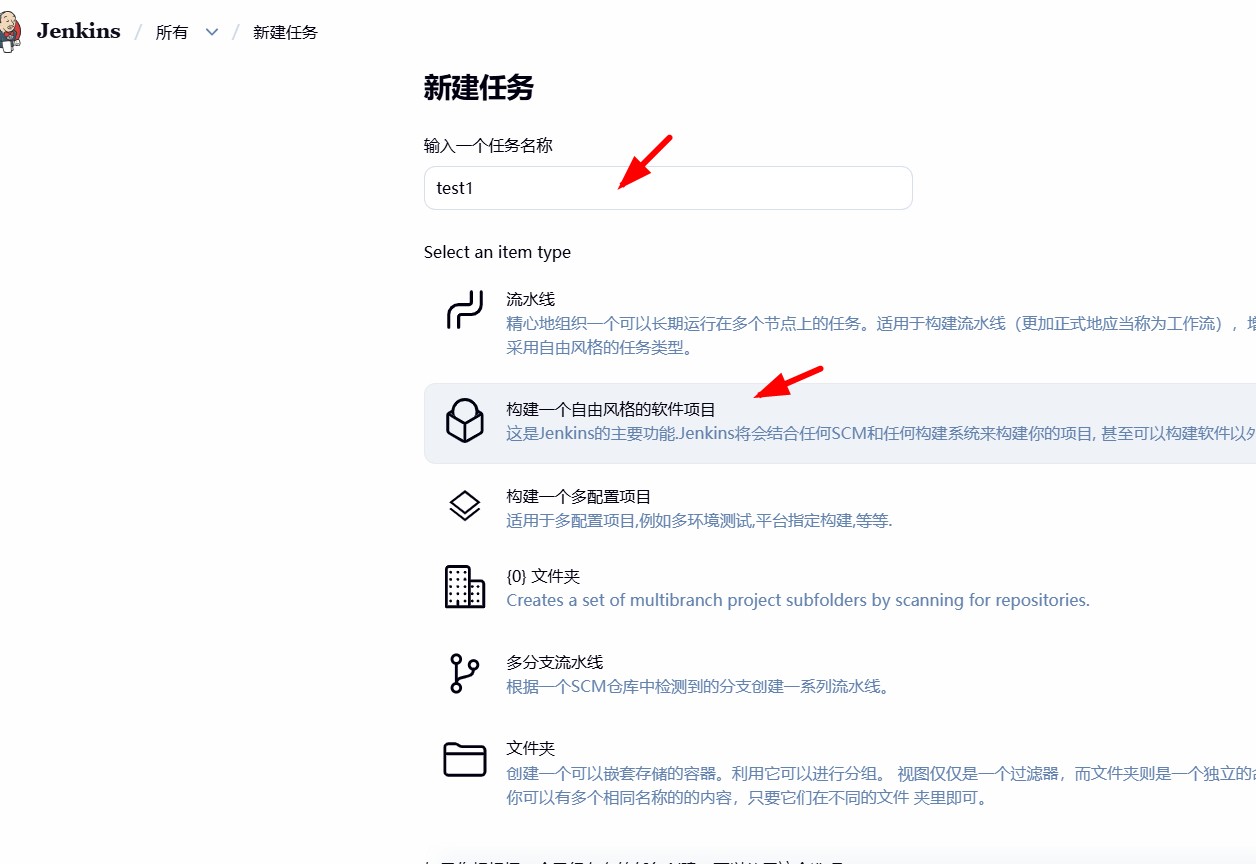
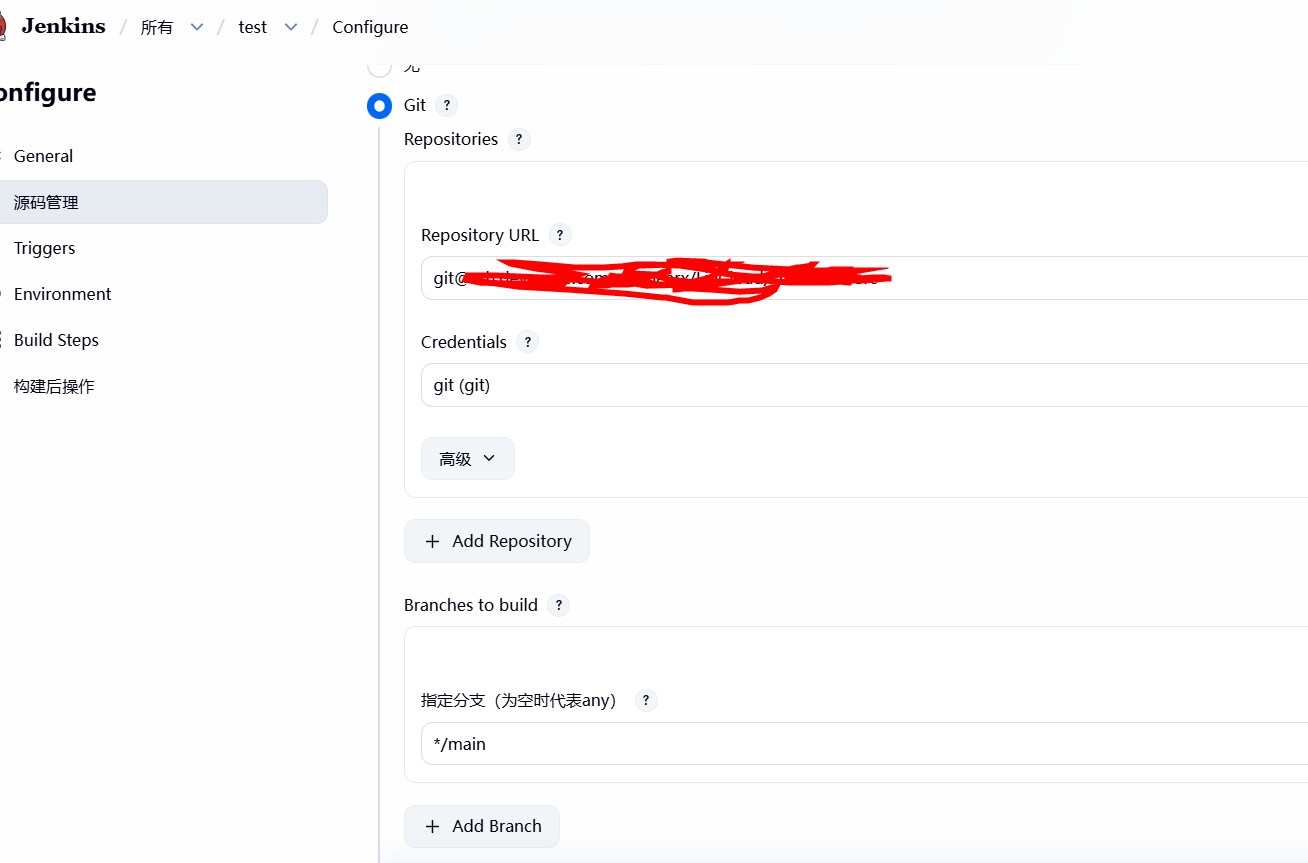
配置git拉取项目
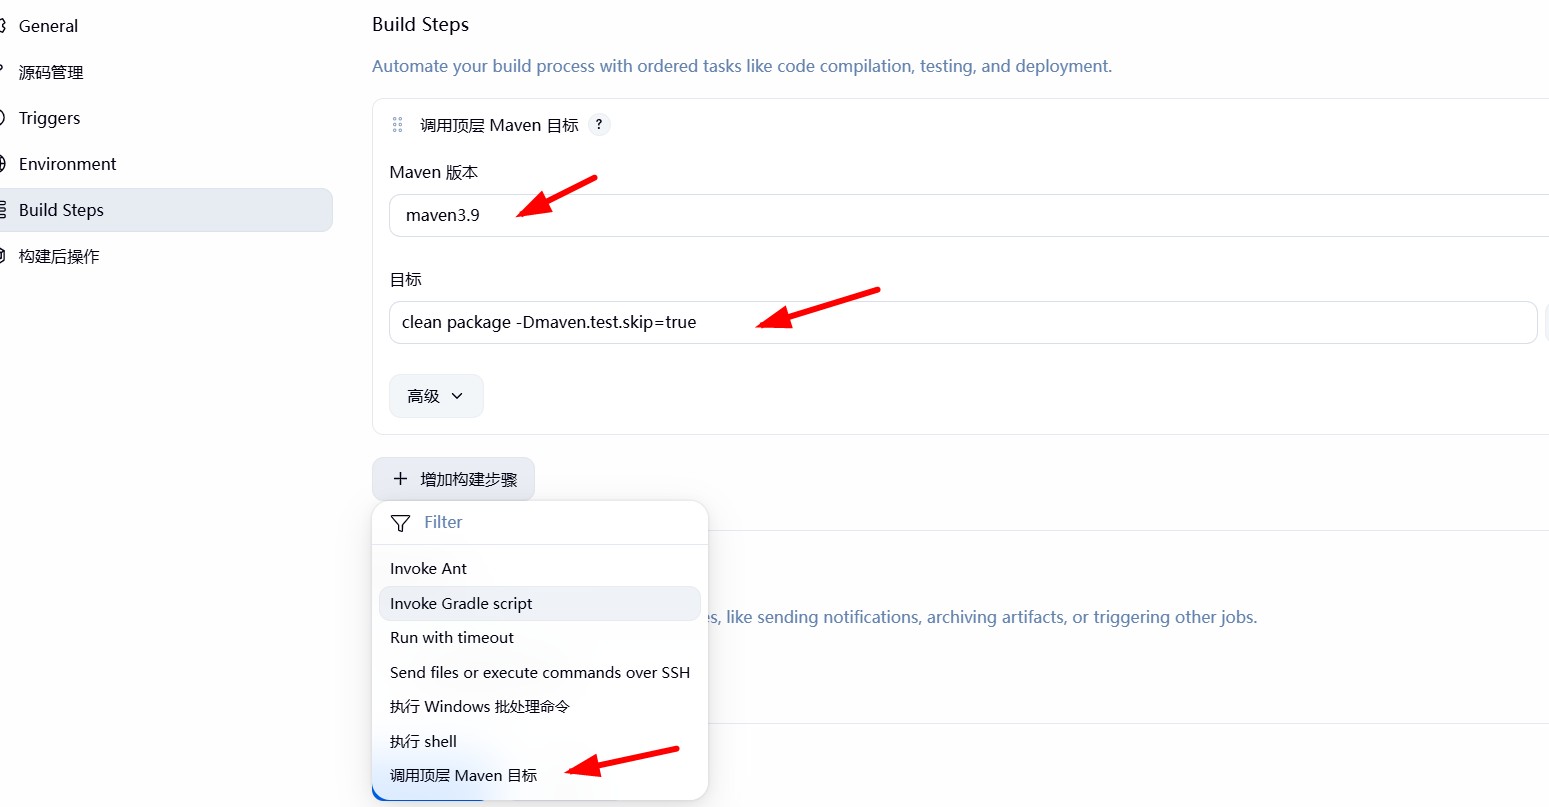
配置maven
确保maven的settings.xml配置正确,这里直接通过宿主机部署,所以只需要将宿主机settings.xml替换为正确就可以
- maven settings.xml,如果没有nexus(私服)得先部署
<?xml version="1.0" encoding="UTF-8"?>
<settings xmlns="http://maven.apache.org/SETTINGS/1.2.0"
          xmlns:xsi="http://www.w3.org/2001/XMLSchema-instance"
          xsi:schemaLocation="http://maven.apache.org/SETTINGS/1.2.0
          https://maven.apache.org/xsd/settings-1.2.0.xsd">
  <servers>
    <server>
      <id>nexus-repo</id>
      <username>nexus账号</username>
      <password>nexus密码</password>
    </server>
  </servers>
  <profiles>
    <profile>
      <id>nexus</id>
      <repositories>
        <repository>
          <id>nexus-repo</id>
          <url>http://你的nexus地址/repository/maven-public/</url>
          <releases><enabled>true</enabled></releases>
          <snapshots><enabled>true</enabled></snapshots>
        </repository>
      </repositories>
      <pluginRepositories>
        <pluginRepository>
          <id>nexus-repo</id>
          <url>http://你的nexus地址/repository/maven-public/</url>
          <releases><enabled>true</enabled></releases>
          <snapshots><enabled>true</enabled></snapshots>
        </pluginRepository>
      </pluginRepositories>
    </profile>
  </profiles>
  <activeProfiles>
    <activeProfile>nexus</activeProfile>
  </activeProfiles>
</settings>
- maven 默认本地仓库位置(因settings.xml没有指定)
/data/jenkins/.m2/repository
- maven 命令
clean package -Dmaven.test.skip=true
构建项目
首次构建比较慢,会下载pom所有依赖jar
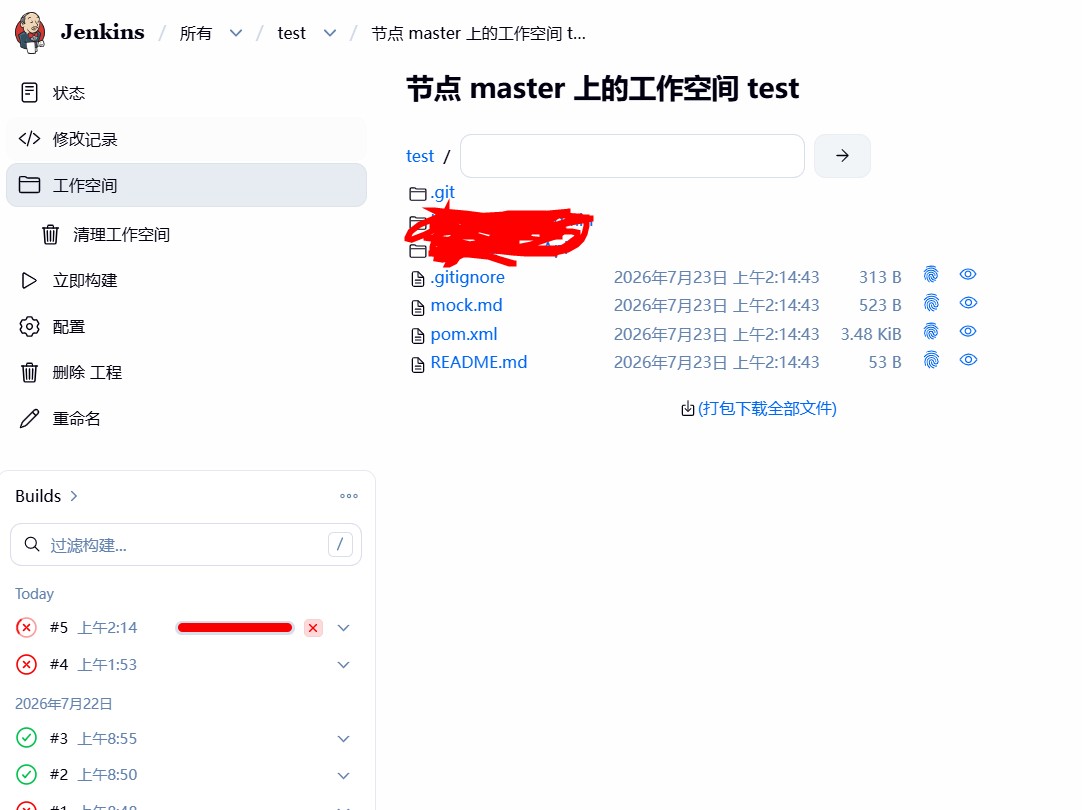
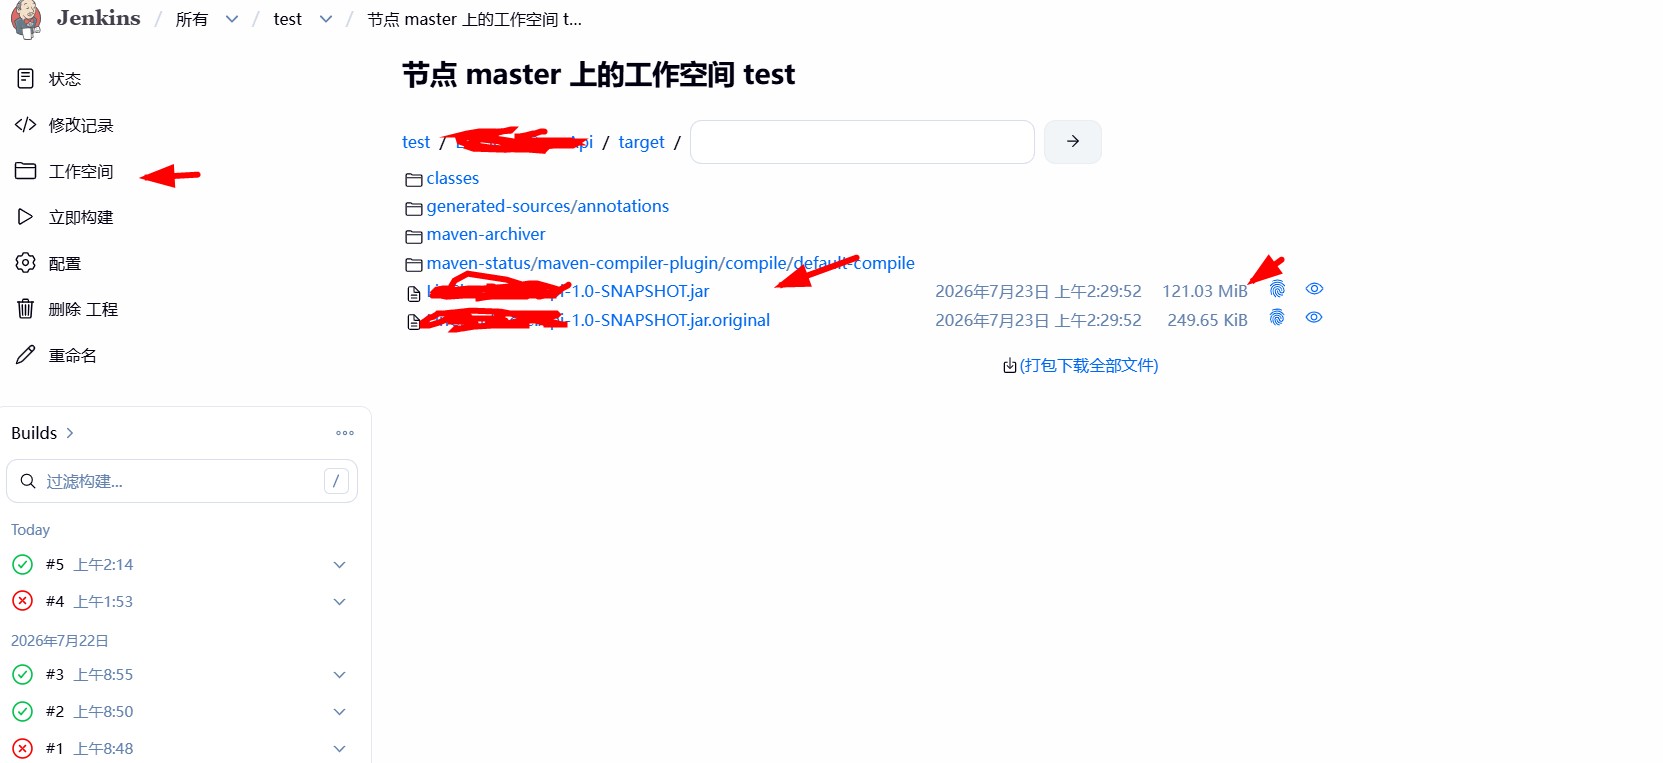
编译和打包之后
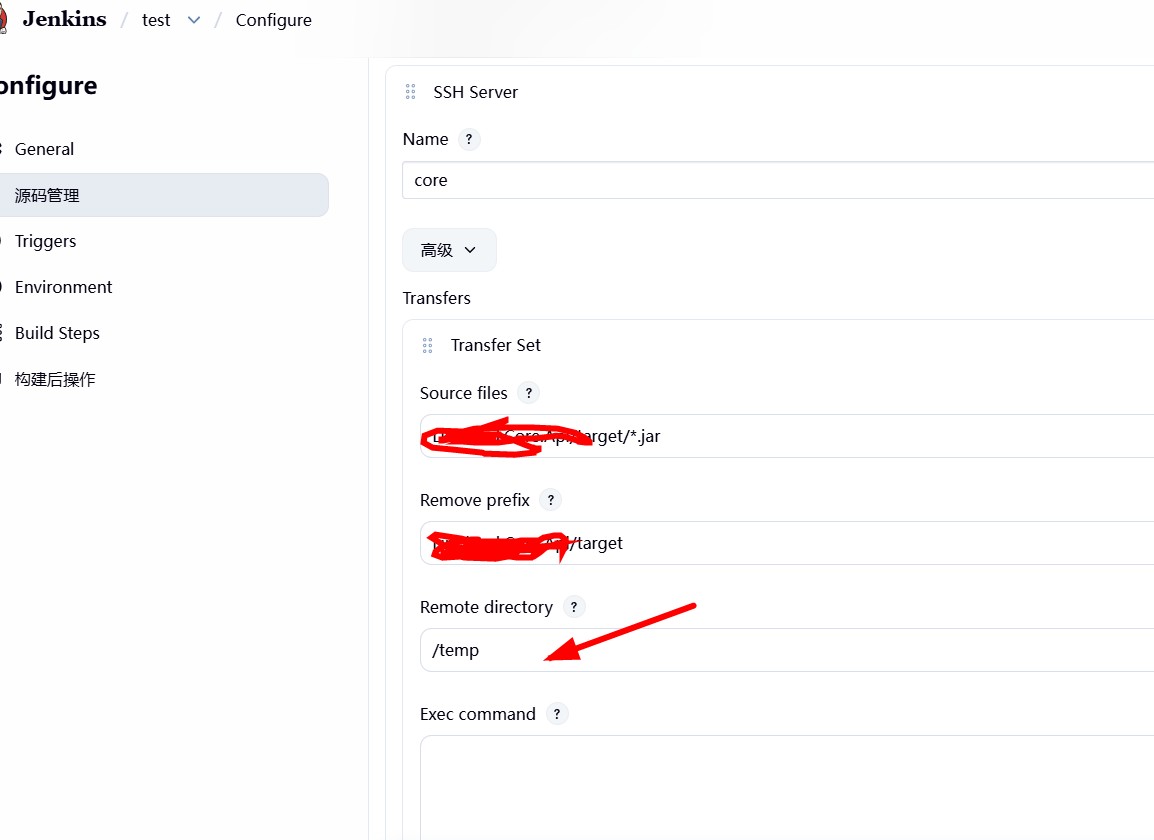
构建远程部署目录
Remote directory 需要注意/temp,远程服务器完整目录为(Publish over SSH)里面Remote Directory+/temp
构建shell和进行远程发布
shell脚本
#!/bin/bash
app_name="Core.Api"
app_pattern="${app_name}-*.jar"
port=8085
temp_path=/usr/local/temp
deploy_path=/usr/local
JAVA_HOME=/usr/local/jdk-21.0.11
log_path=/data/log
log_file=${log_path}/core-api.log
deploy_log=${log_path}/deploy-api-$(date +%Y%m%d_%H%M%S).log

exec > "${deploy_log}" 2>&1
mkdir -p "${log_path}"
echo "=====部署开始 ${app_name}====="

# 等待Jar包上传完成,最多10s
new_jar=""
for ((i=0;i<10;i++)); do
    new_jar=$(find "${temp_path}" -maxdepth 1 -name "${app_pattern}" | head -1)
    [ -f "${new_jar}" ] && break
    echo "等待Jar包上传 $i/10"
    sleep 1
done
[ ! -f "${new_jar}" ] && echo "错误:未找到Jar包" && exit 1

jar_name=$(basename "${new_jar}")
target_jar="${deploy_path}/${jar_name}"
echo "待部署包:${new_jar}"

# 停止旧进程并等待进程消亡
run_pid=$(ps -ef | grep "java -jar" | grep "${app_name}" | grep -v grep | awk '{print $2}')
if [ -n "${run_pid}" ]; then
    echo "终止旧进程 ${run_pid}"
    kill -15 "${run_pid}"
    # 等待进程退出,最多16s
    for ((i=0;i<8;i++)); do
        ! ps -p "${run_pid}" >/dev/null && break
        echo "等待旧进程退出..."
        sleep 2
    done
    if ps -p "${run_pid}" >/dev/null; then
        echo "超时,强制杀死 ${run_pid}"
        kill -9 "${run_pid}"
        sleep 2
    fi
fi

# 端口兜底释放
while lsof -t -i:"${port}" >/dev/null; do
    echo "端口${port}占用,等待释放"
    sleep 2
done

# 更新jar
rm -f "${deploy_path}/${app_pattern}"
mv "${new_jar}" "${target_jar}"

# 启动服务
echo "启动应用 port:${port}"
nohup ${JAVA_HOME}/bin/java -jar \
-Dserver.port=${port} \
-Xmx512m -Xms256m \
"${target_jar}" >> "${log_file}" 2>&1 &
new_pid=$!
echo "新进程PID: ${new_pid}"

sleep 3
if ! ps -p "${new_pid}" >/dev/null; then
    echo "警告:进程启动异常,请查看日志 ${log_file}"
fi

rm -rf "${temp_path:?}"/*
echo "=====部署完成====="
exit 0
执行shell脚本(两种方式)
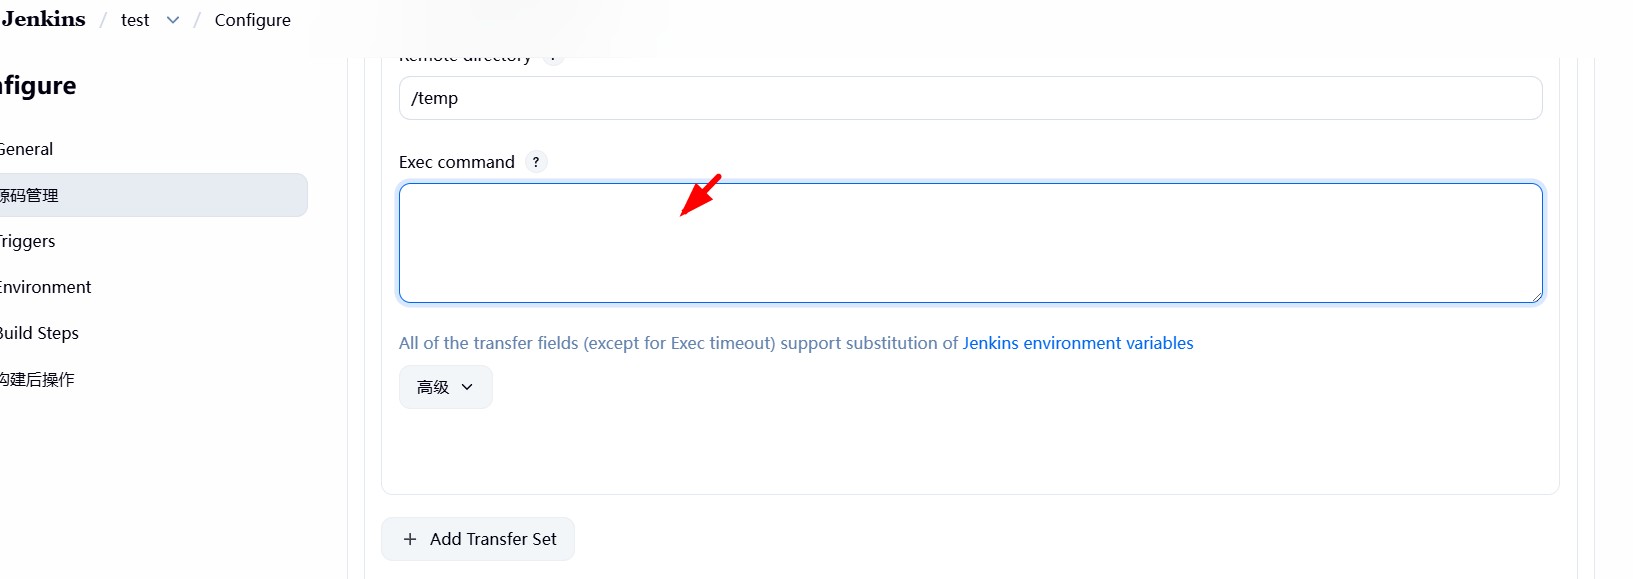
第一种jenkins直接配置执行
直接将上面shell命令复制进去
第二种远程服务器部署sh命令调用
将上面shell命令,部署到远程服务器
vim /usr/local/deploy.sh
# 粘贴完整脚本内容,保存退出(权限一定核实开通)
chmod +x /usr/local/deploy.sh
- 上面文本框填入
bash /usr/local/deploy.sh
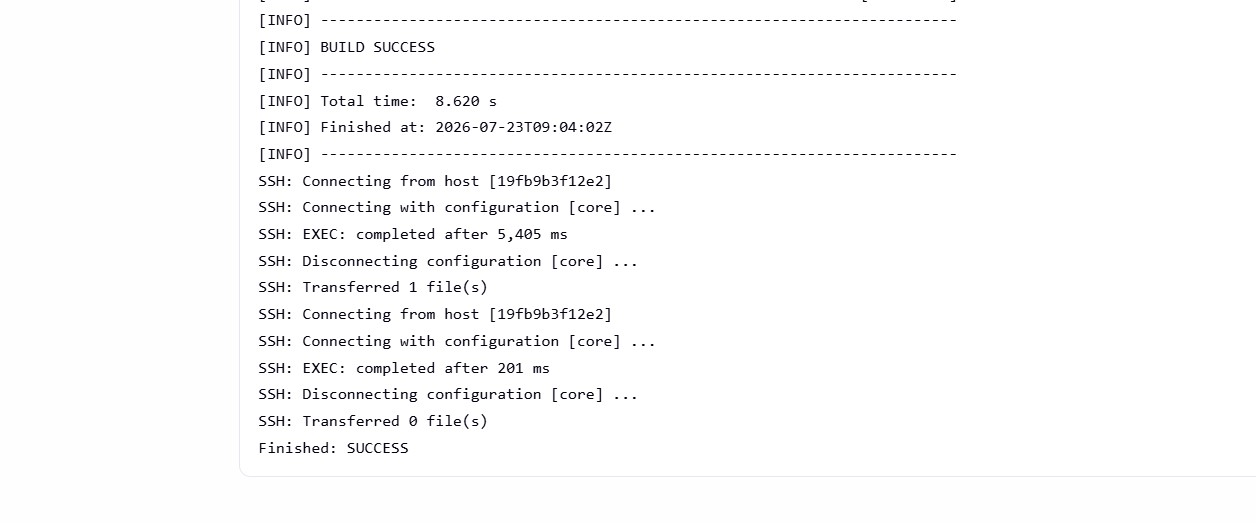
远程发布验证结果